
 Reserve with Google
First, congratulations on making the switch to online scheduling software!
Having a scheduling software, like counseling scheduling software is great, but we know how intimidating it can be to change the status quo and do things a little differently. And we also know how daunting it can be to actually set everything up.
At this point, you should now be successfully onboarded (or “set-up”), which means that the hard part is almost over.
But, there is a small caveat.
Because we wouldn’t want you to go through the process of making the switch to online scheduling software without it being super successful, we wanted to share these ten tips to avoid.
1. Not Having Accurate Availability
Double-check and even triple-check that your availability is correct – and across all providers.
Not only can inaccurate availability lead to unnecessary phone calls and emails from your current clients, but it also throws the seamless experience of online booking into question.
Similarly, your “digital” entrance is likely to become the first encounter that new clients will have with your business, so it’s important to come across as reliable as possible with accurate information.
2. Not Having a Set Price for ALL Google Book Services
If you have any free services associated with your Google book button, Google will not actually show your services.
Sometimes businesses won’t set the price because the pricing varies. However, Google requires a minimum $5 set price for all services.
Tip: We recommend including a statement in the description of the service that the price may vary and to provide a suggested price range.
3. Not Updating Your Website
Another mistake we see is that clients don’t integrate online booking into their websites. In other words, there is no mention that they offer online booking anywhere on their website!
Below is a list of all of the places where you should update your website:
- Your Website Header Menu (“Book Now”)
- “Book Now” CTAs to the Bottom of Every Page
- Your Contact Us Page
4. Not Adding a “Book Now” Button to Every Page
This is related to the tip above, but because it’s so important we believe it deserves its own place on this list!
Another mistake we see is not adding a “Book Now” button to your website – especially your home page!

The video below will show you how to add it to your WordPress website. If you have a SquareSpace website, you can find directions here.
5. Not Telling Your Customers That You Offer Online Booking (Or Only Mentioning It in One Place)
It can be an easy thing to overlook, but it’s important to tell your customers that you offer online booking – and to tell them more than once (and to tell them via different channels, both online and offline).
Here is our list of best practices:
- Email Your Entire Client List and include your booking link. Let your clients know they can now book online. To add your booking link, go to ‘Booking Page’ from the top menu bar and then click ‘Copy Link’ (of your online booking widget).
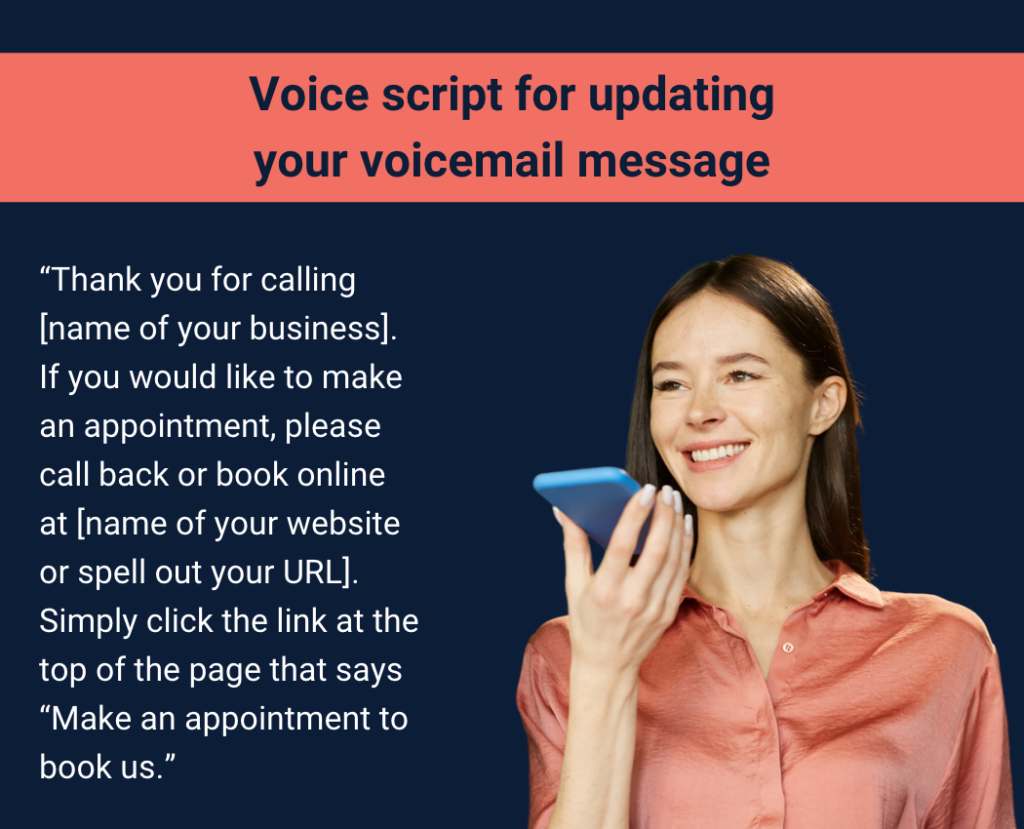
- Update your Voicemail. If you’ve never offered online booking before, it’s likely that your clients are used to calling to make an appointment. Update your voicemail as a means of directing clients to book online:
- Update Your Email Signature. Next, it’s time to update your email signature.
- Announce it on Your Social Media Platforms and Google My Business. Also make dedicated social posts on your social media platforms and Google My Business.
- Print Your QR Code! QR codes are everywhere these days. Print your code and add it inside your business. Instructions here.
- Share with Clients In-Person. It’s also a good idea to share the news with clients when you see them in person!
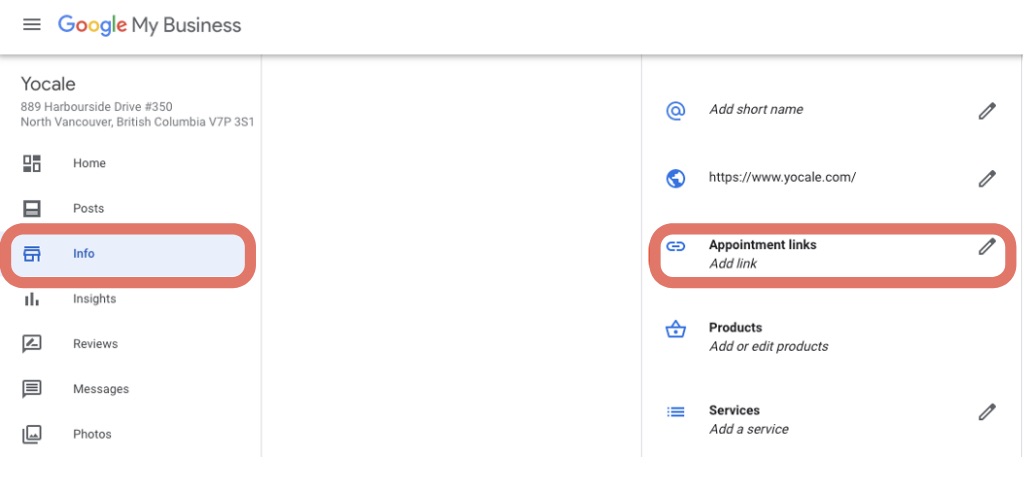
- Update Google My Business and Your Social Media Platforms. Include your new booking link on Google My Business and your social media platforms (complete instructions here)
6. Not Adding All of Your Services
Another mistake we see is that clients don’t add as many services as they could be adding. When it comes to online booking, it’s best to add as many services as you can because this will only increase the likelihood of getting booked (it will also increase your revenue).
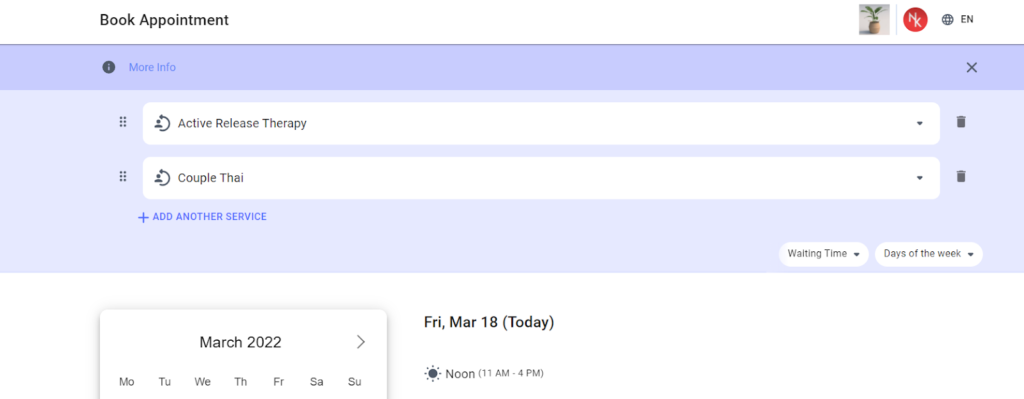
One of the great things about Yocale’s booking widget is that clients can book multiple services at once – and that’s something that you should take advantage of by making sure that all of your services can be booked online.
This actually leads us perfectly into our next tip.
7. Not Having Consistent Services Online and Offline
The services that you offer on your online booking widget should exactly match the services that you offer over the phone (and even elsewhere, like your website). Again, this all comes down to reliability. It also helps to create as seamless of an experience for your clients as possible.
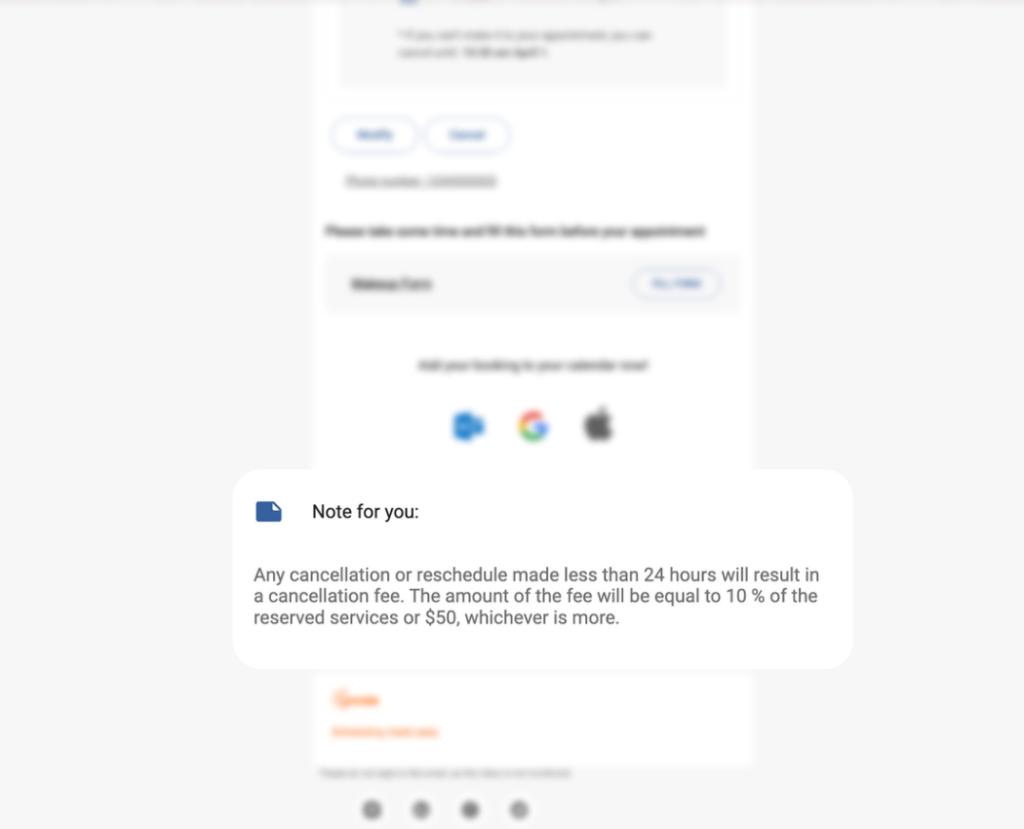
8. Not Adding Your Cancellation Policy to the Online Booking Process
If you haven’t added your cancellation policy to the online booking process, you aren’t using your online scheduling software to its fullest potential! Depending upon your subscription, you can do this in two ways:
- Add a Note to Clients. To do this, navigate to Booking Page from the top menu > Edit Widget > General Customization > Note to Client

- Create a Form. The benefit of having your cancellation policy in a “form” version (instead of a note) is that you can actually get your clients to sign off on your policy. To create a form, you’ll need to use Yocale’s drag-and-drop form-builder. Fun Fact: Yocale will build your cancellation policy for you – all you need to do is email us your current form.
You can even require clients (like first-time clients) to sign off on your cancellation policy in order to complete their booking.
Pro Tip: It’s also a good idea to set up your online booking policies – for example, whether you want to accept pre-payments or deposits in advance (instructions here).
9. Not Capturing Client Information Before Appointments
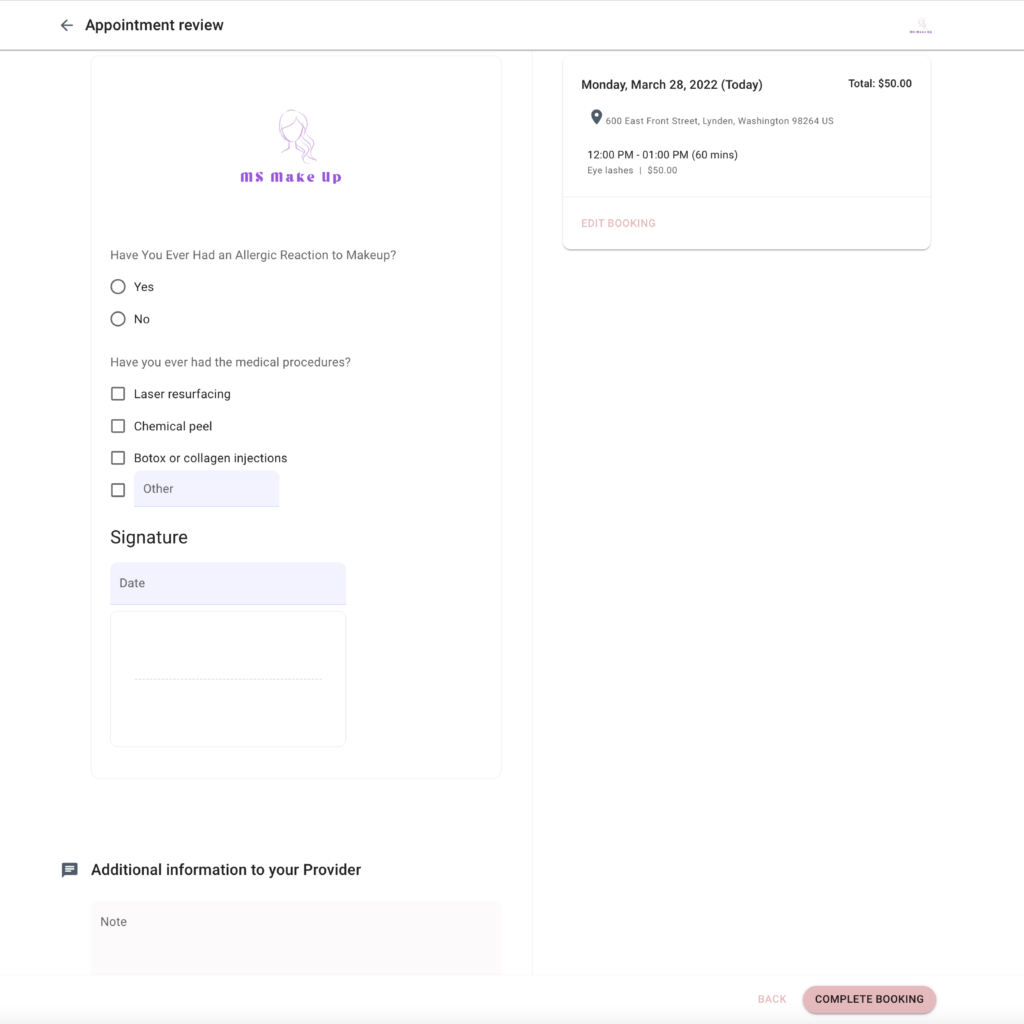
Paperwork is never fun for anyone, but you can elevate your customer experience by having clients complete intake, consent or waivers in advance of their appointment. On the day of their appointment, they’ll be able to jump right into their treatment.
It really provides a super professional touch, too.
Not only does this provide a more seamless, enjoyable experience for your clients but it can actually lead to more treatment time, which is critical for clients undergoing physical therapy (as just one example).
But if that wasn’t enough to convince you, you’ll also be able to save a lot of administrative time (either for yourself or your staff) by having clients complete this information in advance. That means no printing, no filing and no need to spend time completing this information with clients during their appointment slot when it can be done in advance.
So, what are your options for capturing information in advance?
Depending upon your subscription, you can either collect this information in the form of a note (see step 8 above) or, more ideally, in a “form.” Watch our tutorial below or email our support team to build the form for you.
10. Not Deleting Your Previous Account
Lastly, don’t forget to delete your account (and data) if you were using an online scheduling software before. We sometimes see that clients will use two scheduling software options at the same time (i.e. they forget to delete their old “Book Now” button), but this will lead to a lot of double bookings and a headache for yourself.
Wrapping it Up
Need help checking some of these items off this list? Contact support by chat here.