How to Make Before and After Pictures That Will Wow Cosmetic Clients

Beautiful before and after photography is imperative for aesthetic practices.

Not only does it protect you against any untrue claims, but it shows clients how much progress they’ve made. It’s also one of the most powerful marketing tools (more on this to come).

However, in order to be effective, before and after photos have to be accurate and high quality. 

In this blog post, we’ll cover how to make before and after pictures that will make your practice stand out.

Why Use Before and After Photos?

There are a lot of reasons why before and after photos are so important.

  • They Protect You. First and foremost, before and after photos protect you in the event that a client makes any sort of claim against you. 
  • They Reduce Total Treatment Time. Before and after photos help your clients understand their results a lot more, which means you spend less time “selling” them on the results. As such, they’re much more likely to return for a follow-up treatment instead of a follow-up consultation.
  • They Are a Powerful Marketing Tool. A lot goes into the decision-making process when clients choose to undergo cosmetic procedures. Before and after photos help showcase your work and help them understand what kind of results they might expect if they choose you. At the end of the day, people trust pictures over words. If the results are particularly note-worthy, before and after photos can even help capture attention on social media and other types of advertising, helping to bring in new clients.

How to Make Before and After Pictures That Will Wow Clients

The tips below will walk you through nine tips to create stunning before and after pictures.

1. Invest in a Quality Camera

Having a quality camera should be one of the first considerations when it comes to how to make before and after pictures. A smartphone won’t do.

Tom Bialoglow, a professional medical photographer, suggests the Canon SLR or Nikon DSLR.

2. Obtain Consent

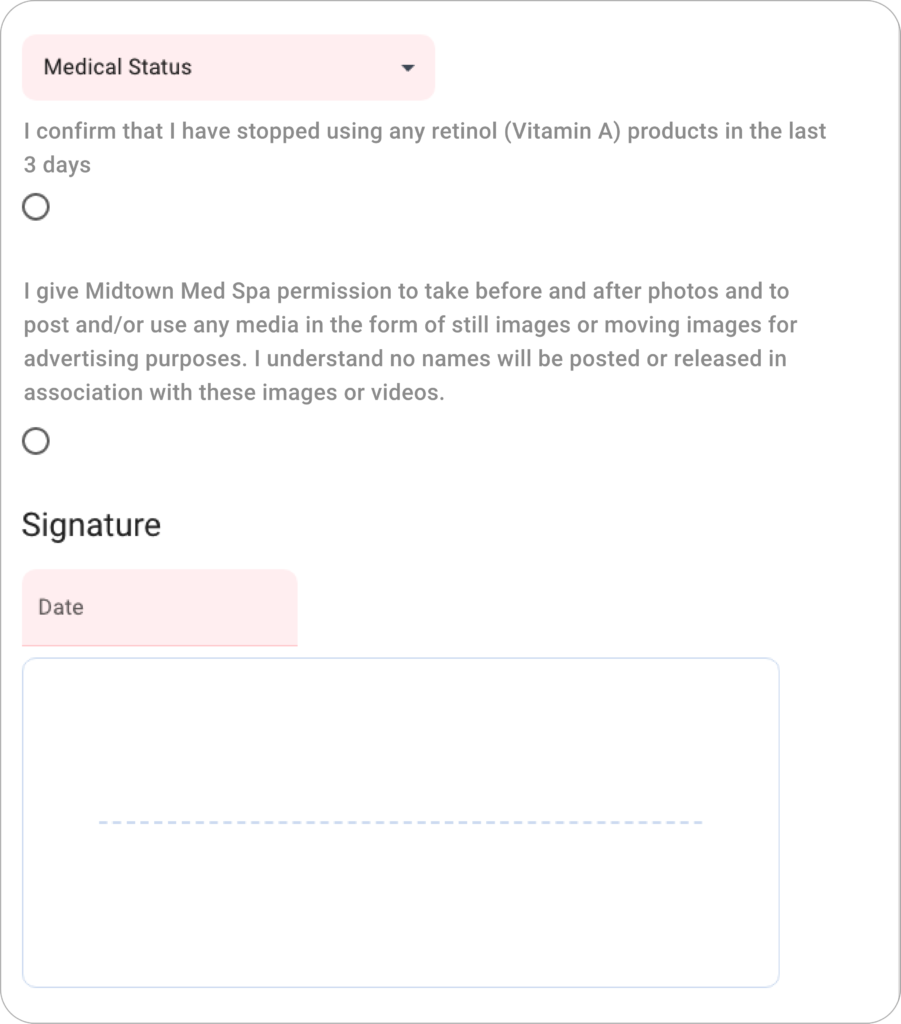
Next, it’s critical to obtain your client’s consent before posting any pictures of them online. 

One of the easiest ways to do this is with medical spa practice management software that has online booking as part of its feature suite. When clients book online, they’ll automatically be sent a consent form, which they sign online. Once they do, the consent form will be automatically saved in their client record.

a sample consent form that is asking for permission to publish before and after photos on social media and marketing materials.

3. Prep Your Subject 

The next step is to prep your subject. For facial photos, you’ll want to ensure that your subject’s skin is clean and free of creams, makeup, jewelry, glasses or any other type of accessory. Subjects should have a neutral expression without smiling (similar to a passport photo) and have hair pulled back from their face. Also make sure the client does not tilt their head in any way.

For body photographs, ensure that patients wear the same clothing in both photos (more on this to come). Ideally, the clothing would be one color without any patterns and be loose to prevent any pressure marks on the skin.

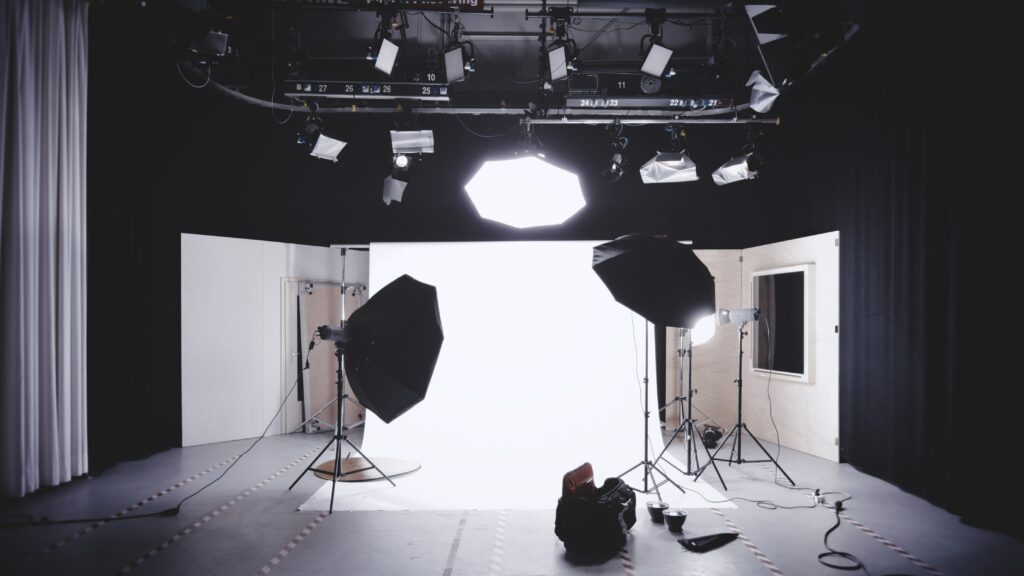
4. Use Proper Lighting

Lighting is one of the most important things you should focus on when it comes to before and after pictures. 

First and foremost, avoid using flash and any direct sunlight. You’ll commonly see that after photos tend to have a lot more light in them – that is, they appear “washed out.” Although this gives the impression of less aging, it’s not an accurate reflection of your subject. That’s why you’ll want to avoid shooting in direct sunlight.

In terms of overhead lighting, it’s best to use LED light bulbs over fluorescent lighting, which can be common in medical clinics.

Generally speaking, one of the biggest challenges when it comes to how to make before and after pictures will be to reduce shadows. Not only are shadows distracting, but they can also distort your photos. They can even make certain features, like scars, appear much worse than they really are.

That’s why it’s always recommended to purchase a softbox, placed approximately six feet or so away from the subject). Softboxes produce a much softer light that minimizes harsh shadows, and generally speaking, the larger the softbox the better.

a photo studio with three light boxes in it

Secondly, without a softbox, subjects will cast shadows downwards, which means that results will be more difficult to see. Put another way, softboxes help produce a very clear image that truly showcases your work.

5. Choose a Proper Background and Angle

Backgrounds should be neutral, with white being a great option. You’ll want to avoid bright colors as these can reflect onto the patient’s skin.

You can go with a collapsible background, poster or even fabric as long as the fabric doesn’t have any texture to it.

In terms of angles, you should also take photos from at least three angles: head-on, side profiles and the three-quarter angle, which is a blend between the head-on shot and the side profile.

Also make sure to keep the camera parallel to the ground instead of tilting the camera upward or downward. This will ensure that you don’t distort anything. Also avoid leaving a lot of space around the client’s face or body.

6. Take the Picture from Further Away

Contrary to what you might think, it’s actually better to stand further away from your subject than up close when it comes to how to make before and after pictures. When you take a picture too close, you end up distorting the face. Instead, it’s better to take the photo from further away and then crop the photo as necessary.

7. Keep Everything Consistent – Lighting, Background, Etc.

Consistency is one of the most important aspects of creating before and after photos. Consistent lighting, for example, is particularly important as the face can look very different under different exposures. 


You should also make sure that before and after pictures are consistent in terms of:

  • The lighting (shoot at the same time of day)
  • Background
  • Angle
  • Distance
  • Pose and/or facial expression
  • Makeup and clothing
  • Camera
  • Camera settings


Pro Tip: To ensure that you are consistently shooting at the same distance, set up your camera and tripod in a dedicated area to take your shots. You can even include marks on the floor with painter’s tape to indicate where patients should stand.

8. Avoid These Mistakes

One of the biggest mistakes you can make when it comes to how to make before and after pictures is to doctor your photos in any way. For example, avoid using filters.

Your photos should be a true representation of your work, and modifying the photo in any way can threaten the integrity of your photos.

Lastly, ensure that you avoid any obvious consistencies in terms of backgrounds, angles, etc. This can make it difficult for potential clients to understand the differences between the two photos.

9. Polish and Store Your Photos Using Medical Spa Practice Management Software

The last step is to polish and store your photos. For example, you may want to add markup to your photos (or even internal notes) to indicate where you removed a mole. You may want to even collage photos together. You can do all of this using medical spa practice management software like Yocale.

Once you are finished with your photos, you should store them securely. One of the best ways to do this is through medical spa practice management software. You can upload before and after photos to each client profile (along with client charts, consent forms and any other type of documentation). This keeps your practice organized and eliminates spreadsheets.


Wrapping it Up

Not only do before and after photos protect you, but they are one of the biggest marketing tools that you can have in your arsenal. That’s why it’s so important to take (accurate) and high-quality photos that show your work in the best possible light (no pun intended!).

When it comes to how to make before and after pictures, lighting and consistency are absolutely critical. Avoid adding any filters to ensure the most accurate photo. 

Interested in learning more about medical spa practice management software? Book a demo with a Yocale product specialist today.

Share on Facebook
Share on Twitter
Share on Linkedin