
 Reserve with Google
SEO is critical for increasing traffic to your website, not to mention the leads and conversions that come along with that traffic.
If you’re not quite up to date on why SEO is so critical to your website and business, you can read our ultimate guide to SEO.
When it comes to WordPress plugins, the Yoast SEO plugin is one of the best, if not the best. Think of it as the holy-grail plugin for SEO. They don’t call it the #1 SEO plugin without a reason.
The great thing about this particular plugin is that it makes a lot of SEO as easy as paint-by-numbers.
It is worth a mention that WordPress does take care of some SEO-related things for its users, but it’s by no means extensive or will do a lot for your website in terms of increasing your position in the SERPs.
When it comes to using Yoast SEO, a lot of times, people end up installing it but then never end up doing anything with it, often because they are overwhelmed with the task.
But, if you have even the most basic knowledge of search engine optimization, Yoast SEO is as easy as tying your own shoes.
With that in mind, here’s how to improve your WordPress SEO while using the Yoast SEO plugin.
How to Improve Your WordPress SEO Using the Yoast Plugin
First thing’s first: you have to install and activate the plugin, just like any WordPress plugin.
When it comes to improving your WordPress SEO, you will have to do two things: make changes across your site (one-time) as well as check a few different SEO-related things every time you publish a new post.
Again, the Yoast plugin gives you a checklist and makes this entire process streamlined and easy.
First, we will begin by discussing the broad changes you should make to your site if you want to increase your position in the SERPs – i.e. technical SEO. This includes crawling, indexation and duplicate/low-quality content.
1. Verify Your Site with Search Engines
First things first: add your website to Google Search Console and Bing.
2. Enable Your XML Sitemap
XML sitemaps, which contain the most important pages of your website, allow Google to crawl your website better. The important thing to note is that they allow you to rank higher.
All you need to do here is to enable the XML sitemap via the Yoast SEO plugin.
You can do this by going to Settings > XML Sitemaps. Click ‘Enable’ and then ‘Save Changes.’
You will see some additional options once you click save changes, but these are typically unnecessary.
In the future, every time you publish a new blog post, an XML sitemap will be automatically submitted to search engines so that they can find your new content.
3. Add Breadcrumbs To Each Post
Breadcrumbs are essential navigational features. Google loves breadcrumbs. But, then again, can you blame them?
Breadcrumbs are not only are good in terms of user experience, allowing users to visualize where they on your website, but they also tell Google how your site is structured. And yet again, they are good for SEO.
Breadcrumbs should link back to your homepage and the category of your particular blog post.
To add breadcrumbs, go to SEO > Internal Links. You will also want to adapt single.php and page.php in your theme.
4. Noindex the Subpages of Archives, Archives and Taxonomies
Next, you will want to prevent indexing of the second and third pages of your archives since they aren’t relevant to search results. Changing your settings via Yoast will ensure that Google still crawls those pages but won’t actually index them.
To set this up, go to SEO > Titles & Metas > Other
Disable the indexing of subpages of archives and meta keywords.
However, underneath these settings, you do want to turn on the option to add ‘noodp’ and ‘noydir’ to the meta robots tag sitewide. This essentially tells Google to use your own page description instead of the other directories’ descriptions.
Click, ‘Save Changes.’
You will want to repeat the same steps under the ‘Archives’ and ‘Taxonomies’ tabs by disabling them. Again, this is because these pages aren’t relevant to search results. On top of that, having too many of these pages can make your site look spam-heavy.
This concludes the end of any broad changes you have to make to your site itself. Next, you will want to ensure that you have checked off the elements of SEO that pertain to each blog post that you write.
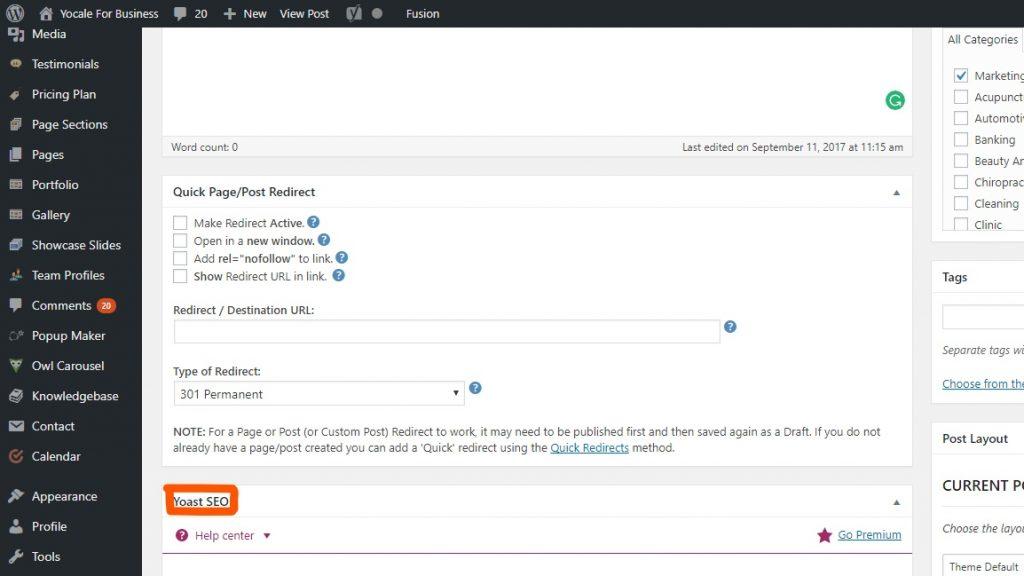
5. Check the Page Analysis Feature For Every Post
The Yoast plugin offers a page analysis feature for every new blog post you write. This is essentially your SEO checklist. If you know the basics of SEO, everything will be like paint by numbers.
You will find this at the bottom of the Visual Editor of your blog post.
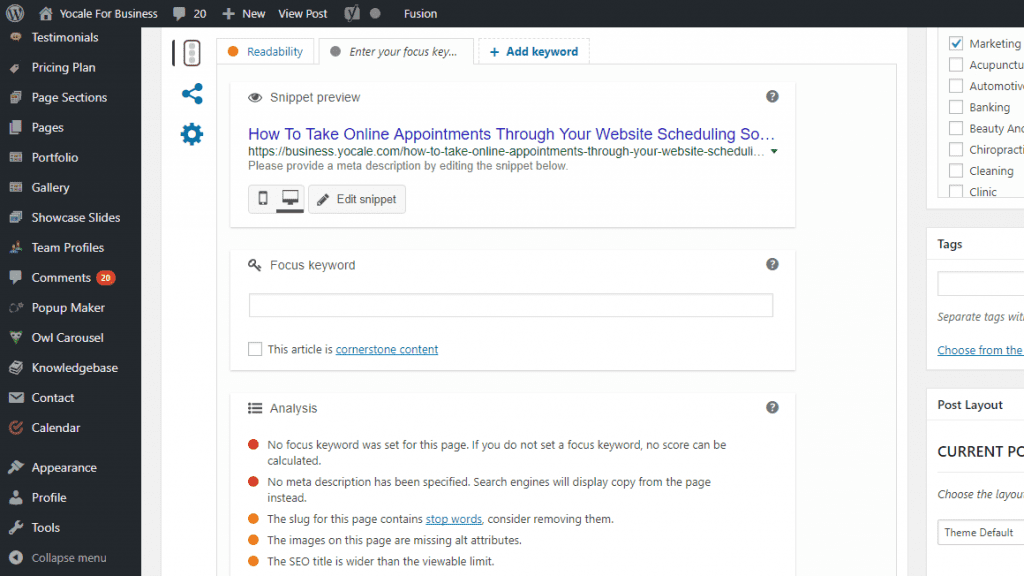
The page analysis feature will check whether you have an alt tag that has the primary/focus keyword for the blog post, whether your blog post is long enough, whether you have enough internal links and whether you’ve written a meta description that contains the primary keyword.
And this is only the tip of the iceberg.
Here are few important elements you will want to check off for every blog post.
- Snippet Preview
This is your page title and description as it will appear in the search results.
- Focus Keyword
The focus keyword is the keyword that you expect your post to rank for. You do not necessarily need to fill out the focus keyword field in Yoast, but doing so will ensure that you’ve used your keyword adequately throughout your blog post.
- SEO Title
When it comes to ranking, the title, the contents of your >title> tag, is among the most important ranking factors. This is the first thing that visitors will see in the search results, as well as the title of the browser tab.
The problem, according to Yoast SEO themselves, is that many bloggers keep their title in the opposite format that it should be.
These websites could be getting a lot more traffic if they switched this around so that their keywords are near the beginning of the title. This is because search engines place more value on these first few keywords.
Instead, you want to go to the Titles & Meta tab > Post Types and alter the template so that it looks like this:

After this, the snippet preview will apply the values you’ve used and apply them to your template. If your title is too long, it will tell you. Keep in mind that your titles should always:
- Contain your brand at the end (this is so that users will begin to recognize you)
- Contain your primary keyword at the beginning
- Encourage users to click
- Meta Descriptions
The meta description is the text that shows up beneath the URL in search engines. Meta descriptions are not a ranking factor but can encourage people to click on your article. Every blog post should also have its own meta description.
Some SEO plugins use automated descriptions, but the problem with this is that they use the first sentence, but this may or may not have anything to do with the topic of the blog post.
It also may not contain your primary keywords and business name, which all meta descriptions should also have.
Therefore, each meta description needs to be individually entered, which you can do via the Yoast plugin.
- Content Analysis
There is also a readability tab, which is also important for SEO purposes. It will tell you whether your post passes the Flesch Reading Ease test (and what you can do to improve it if it doesn’t) to whether or not you’ve included too many sentences using the passive voice and much, much more.
In short, the Page Analysis feature is your quick, go-to guide for ensuring that the most important elements of SEO are in place for each of your blog posts.
Ensure that you check that everything is in place once you hit publish.
This article is meant to be a broad but relatively comprehensive look at how to improve your WordPress SEO. However, Yoast SEO itself offers an even more comprehensive look at how to do this, which you can view here.
The Bottom Line
If you want to improve your WordPress SEO, the Yoast plugin is one of the best tools to have on your side.
Here are some other essential WordPress plugins your website can’t live without.
Are you an appointment-based business? Did you know that you can increase your visibility and bookings with scheduling software?
Yocale is the leading scheduling software on the market today. We also offer a free suite of business management and marketing tools. For more information, click here.
Do you have any tips for using Yoast? If so, we want to hear more about it in the comments section below.